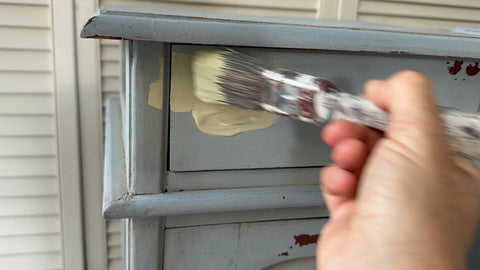
Let’s get started!
1. CLEAN
What does this mean? At its simplest, it means a bucket of soapy water and a scrubber to clean all surfaces, then rinse well. If the piece has stickers or adhesive, remove with methylated spirits. For stubborn residue, use mineral turps but be sure to thoroughly clean it off with soap or alcohol so it doesn’t interfere with paint adhesion. Rinse well.
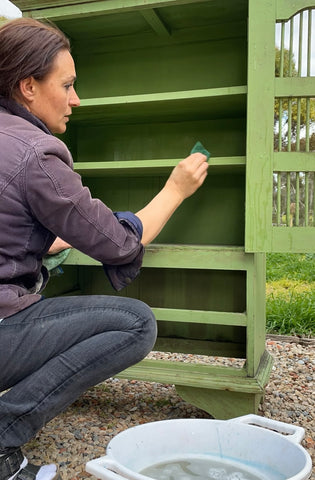 Clean your furniture piece well before painting
A few more tips for your first step:
- If you aren’t planning on painting over or around hardware, remove it before painting.
- If your piece has drawers and you’re removing them to clean or paint them, label them 1, 2, 3… etc as you remove them so you know exactly how to put them back.
- Remove stubborn dirt or build-up in carvings and crevices using a toothbrush, metal bristle brush or a dry, stiff-bristled paint brush.
- If the piece has an odour try vinegar, baking soda, lemon juice or coffee grinds, or use a blocker like BOSS.
2. SCUFF SAND
What’s scuff sanding? Scuff sanding means using a fine 150-220 grit sandpaper and scratching the surface to give the paint better grip. With mineral paint like Fusion or Silk this is an important step. With chalk or clay paints like Jolie and Dixie Belle this step isn’t always necessary.
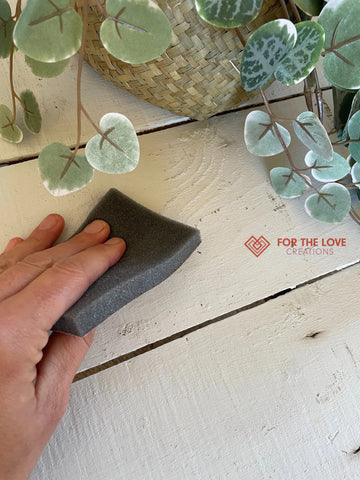
220-grit sanding sponge
3. PAINT
There’s no need to remove the existing finish. If you’re painting over varnish or paint, as long as it’s clean and scuff sanded, you’re good to go! Paint two coats using a good quality paint brush and apply your preferred top coat if it needs one. Be sure to always pay attention to re-coat times and bad weather!
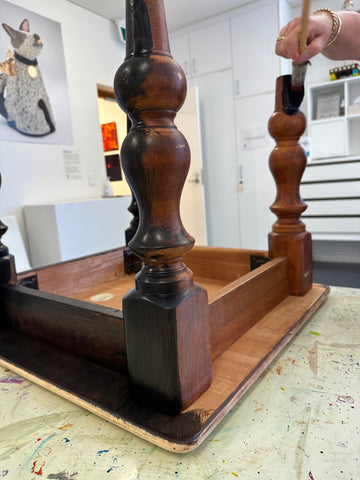
Paint tables and chairs by turning them upside down and starting with the legs first
Surfaces like laminate, plastic, metal or glass need a bonding primer like Ultra Grip, MilkGrip or Slick Stick. Apply 1 coat, wait 12 hours, then paint.
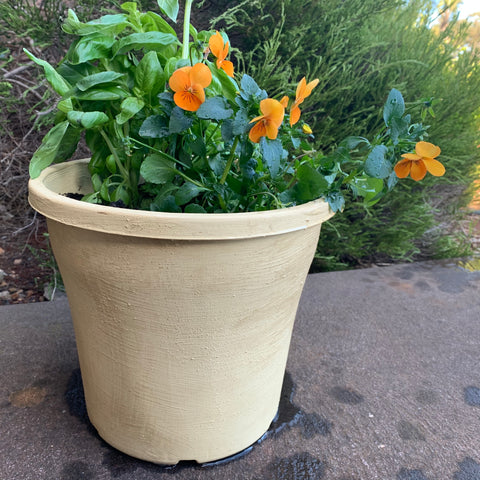
Plastic pot primed with Fusion Ultra Grip then painted with Fusion Mineral Paint
Which paint and why?
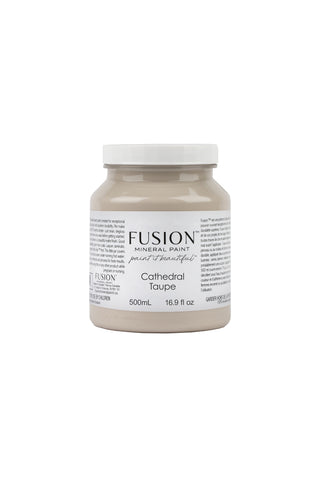
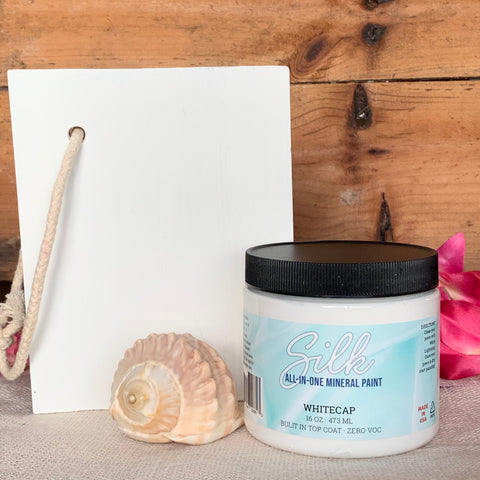
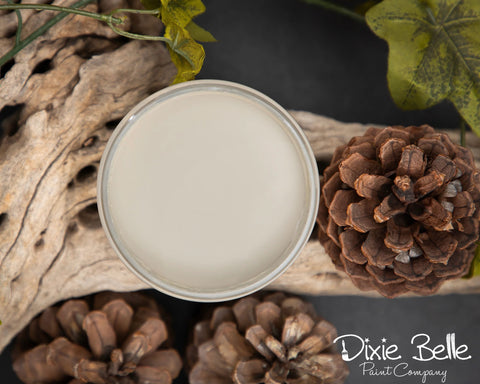
Chalk Paint
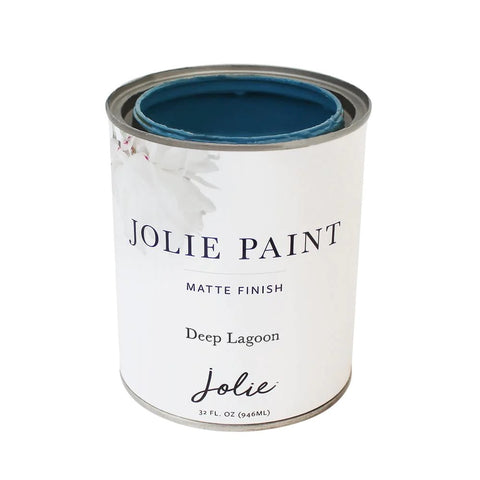
Based on very old recipes, chalk paint is a water based paint that uses natural pigment and chalk or limestone as the binder. It needs to be sealed to protect the surface. Jolie and Dixie Belle are both chalk paints.
Milk Paint
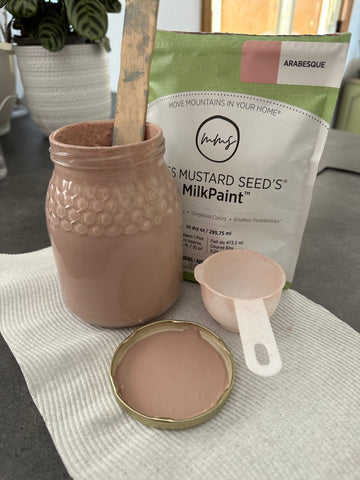
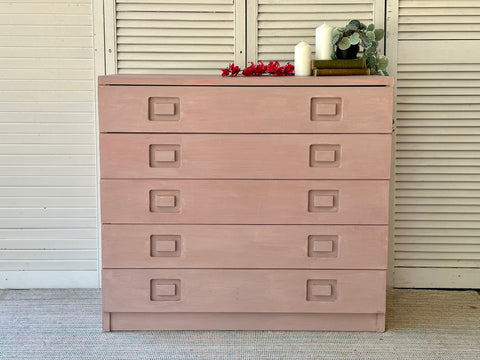
Milk paint by Miss Mustard Seed’s Milk Paint comes in powder form that becomes paint when mixed with water. It will absorb into porous surfaces, or flake away from smooth surfaces to create a chippy, authentically aged look. It needs to be sealed with MMS Clear Coat or MMS wax.
Clay Paint
Terra Clay Paint is the artisan’s paint. It’s a very viscous, heavy, water-based clay paint. It goes on thick for a textured finished and easily reactivates with water for blending. It is highly absorbent so oil based sealers and very watery sealers aren’t recommended. It’s best sealed with Terra Tuff, Terra Seal or Dixie Belle Clear Coat Flat.
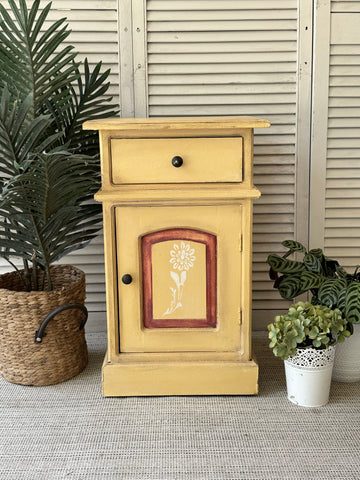
Rustic and textured Terra Clay Paint
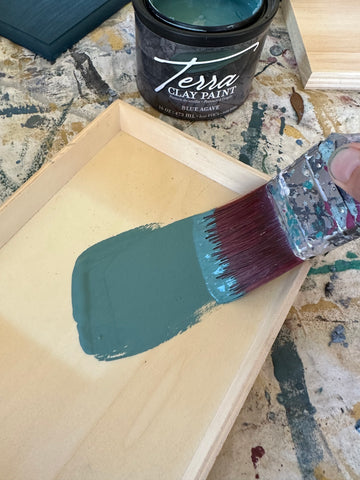
Terra Clay Paint is thick for extra texture
4. TROUBLE SHOOTING
- Paint is peeling away
This is almost always a prep issue. The surface might still have oil on it or the cleaning agent wasn’t thoroughly rinsed away. Clean the area again, scuff sand, then paint. If using chalk or mineral paints, it will self level and you won’t see any patch work but if you used milk paint you’ll need to paint the entire surface to keep the coverage consistent. If your surface is very slick you may benefit from a bonding primer like MilkGrip, Ultra Grip or Slick Stick.
- Bleed through
Sometimes tannins trapped in the wood are activated when a water based product is applied to its surface. This will show up as blotches or stains on your painted finish. Some woods, like teak and mahogany, do this more than others. If you’re painting a wood that’s a notorious bleeder, prime the entire piece with a blocker like BOSS first, then paint. If you don’t prime the whole piece and stains just show up here and there you can spot treat them using a blocker or Fusion Tough Coat, then paint over the spot (see above regarding patch painting)
- Brush marks
Brush marks will show when using a paint brush and painting by hand. It’s part of the beauty of a hand painted piece. Your first coat will show every brush mark but they’ll be less visible in the second coat. To make your surface as smooth as possible here are some tips:
Use a high quality synthetic bristle paint brush like a Cling On or Staalmeester. Don’t have too much paint on the brush and don’t over work it with too much back and forth. Also, very cold or damp weather or very hot weather can affect your work.
Make sure your paint isn’t too thick. If it has thickened, pour some into a separate container and add a bit of water, mix, then paint.
Sand using 180 grit sand paper after each coat.
If you prefer no brush marks whatsoever, we recommend a microfibre roller or paint sprayer.
There you have it!
As always, If you have any issues please get in touch and we will point you in the right direction.
All the best with your furniture painting projects!
Befores & Afters
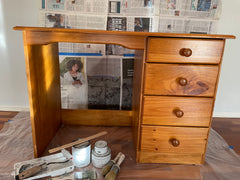
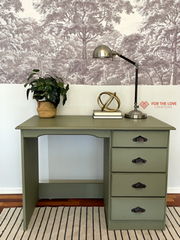
Desk painted in Jolie chalk paint Sage
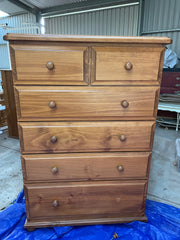
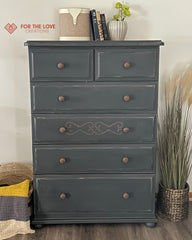
Tallboy painted in Jolie chalk paint Graphite
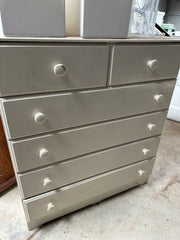
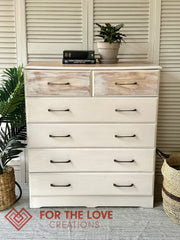
Dresser painted in Miss Mustard Seed’s Milk Paint Marzipan
Read more about:
Fusion Mineral Paint: https://fusionmineralpaint.com/
Dixie Belle Paint: https://dixiebellepaint.com/
Miss Mustard Seed’s Milk Paint: https://www.mmsmilkpaint.com/
Jolie Paint: https://joliehome.com/


Leave a comment